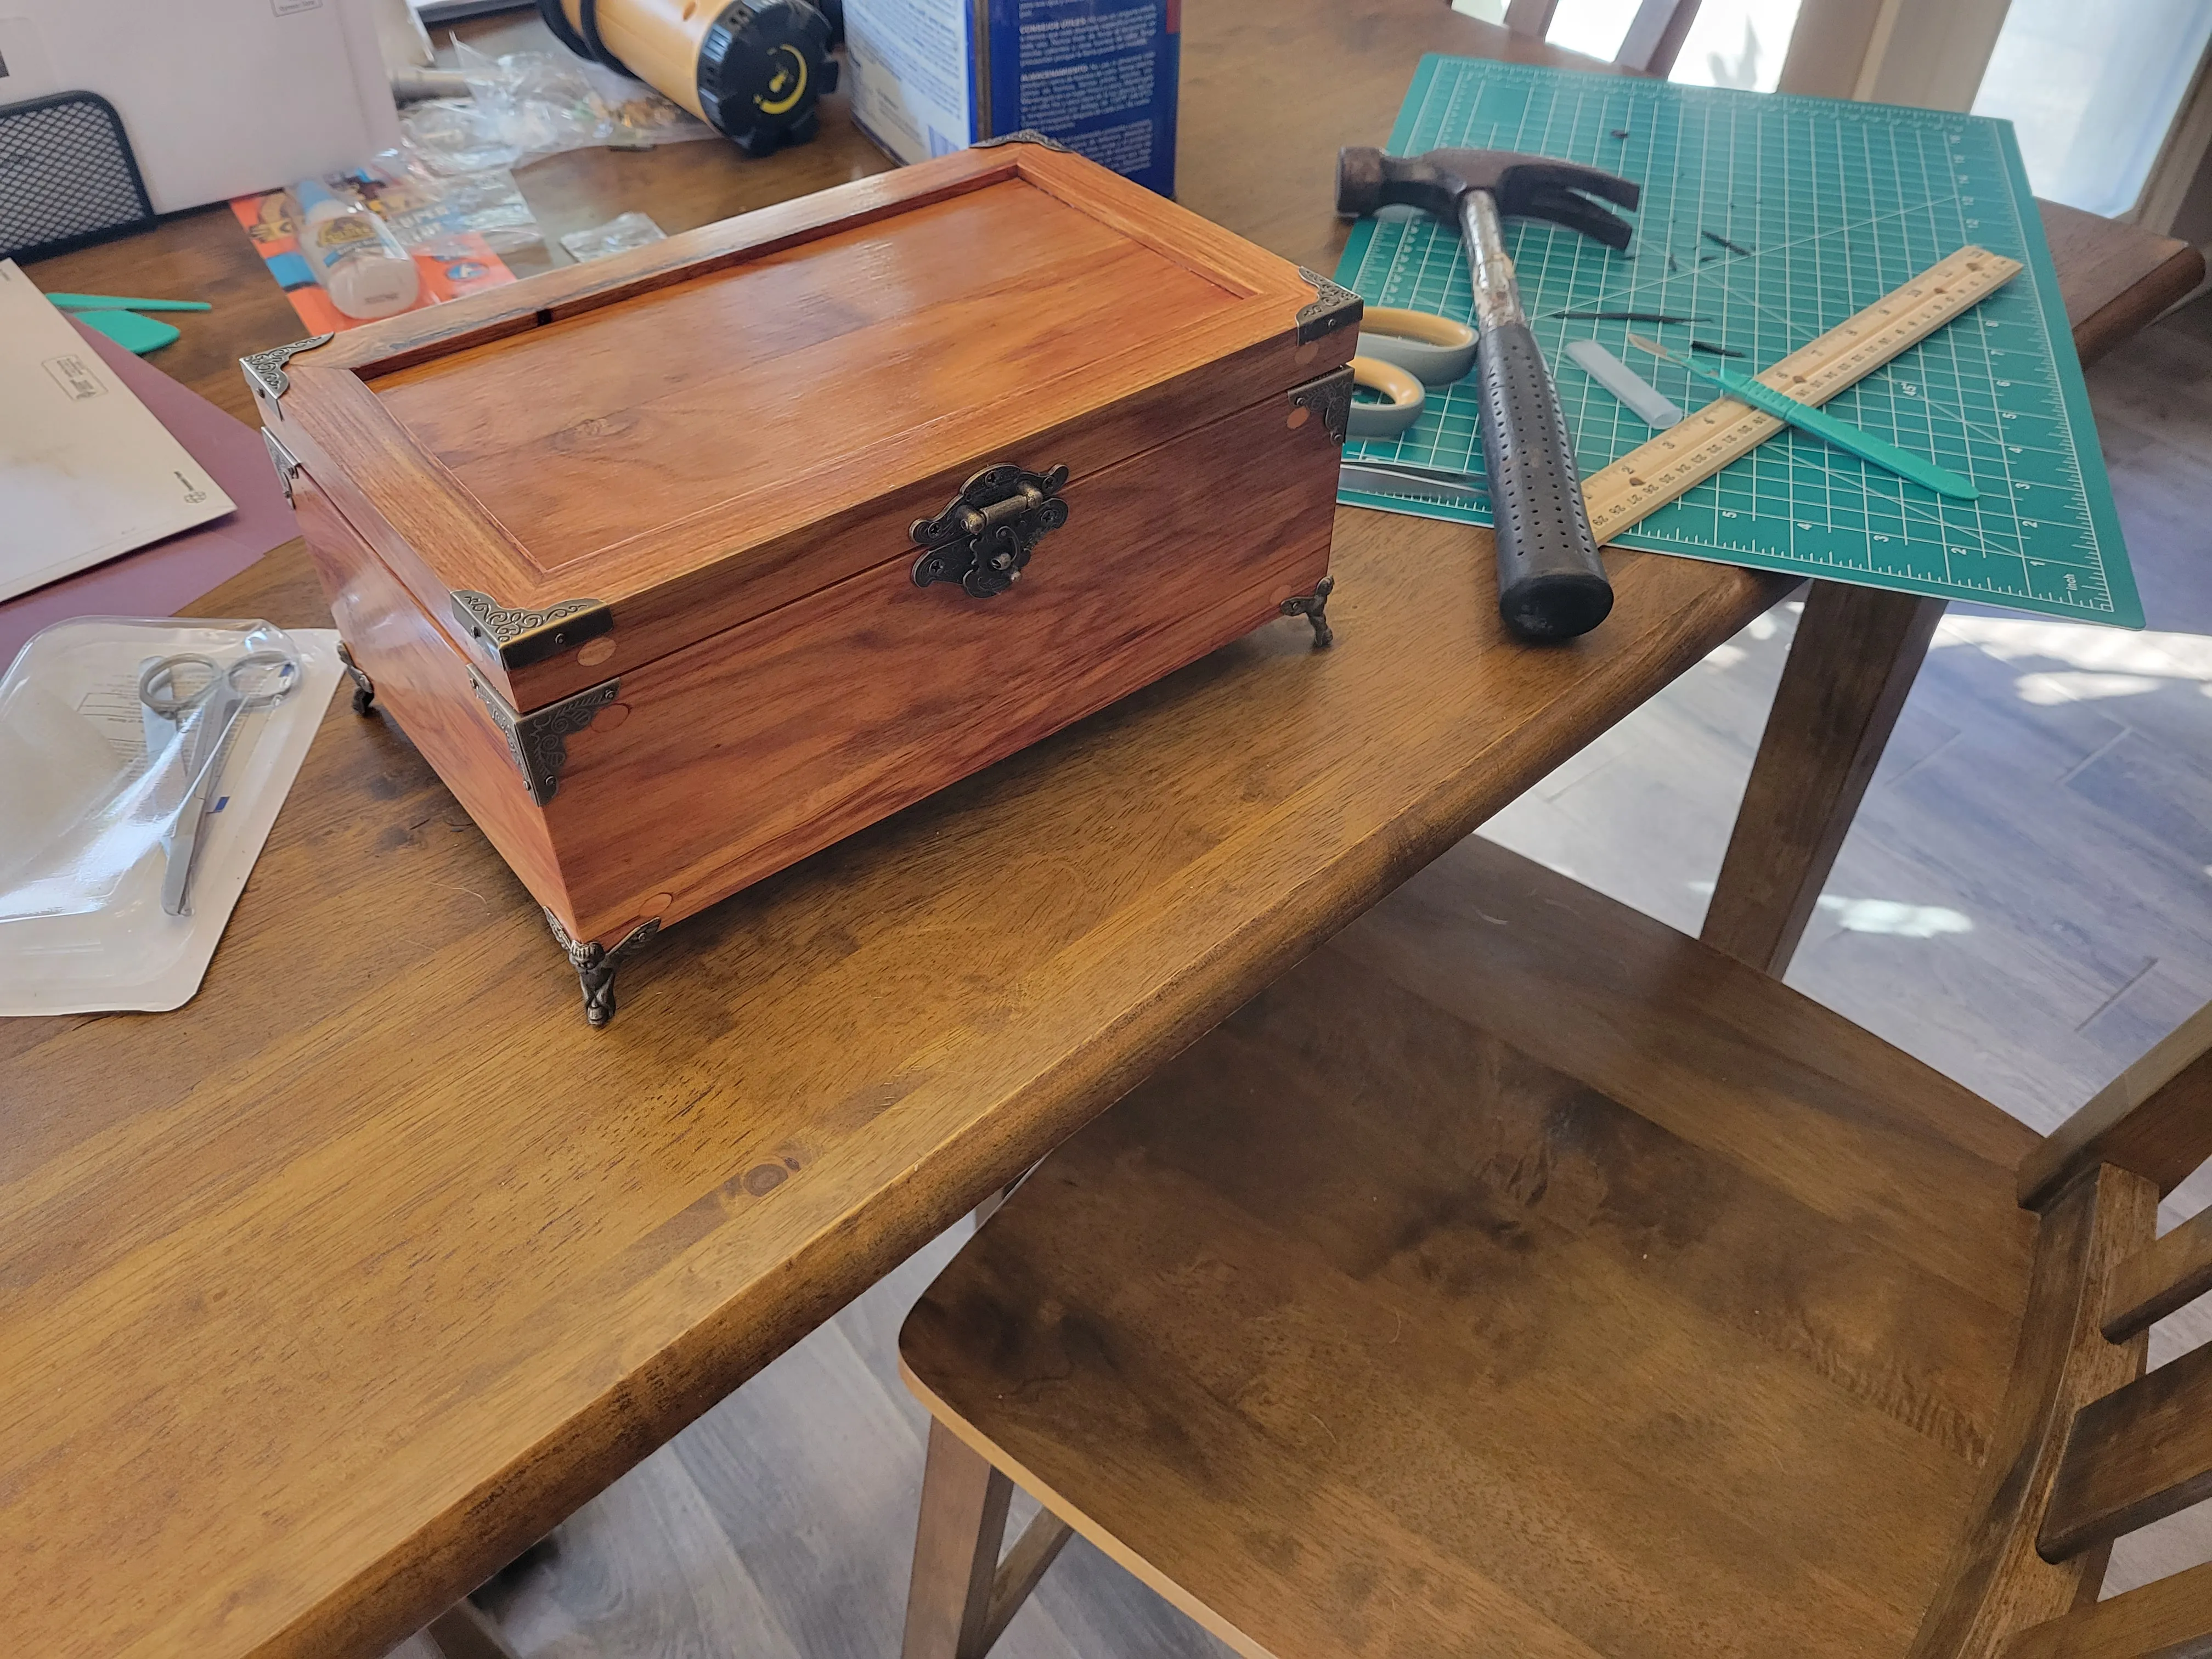
First Box
Why canarywood, and why miters first
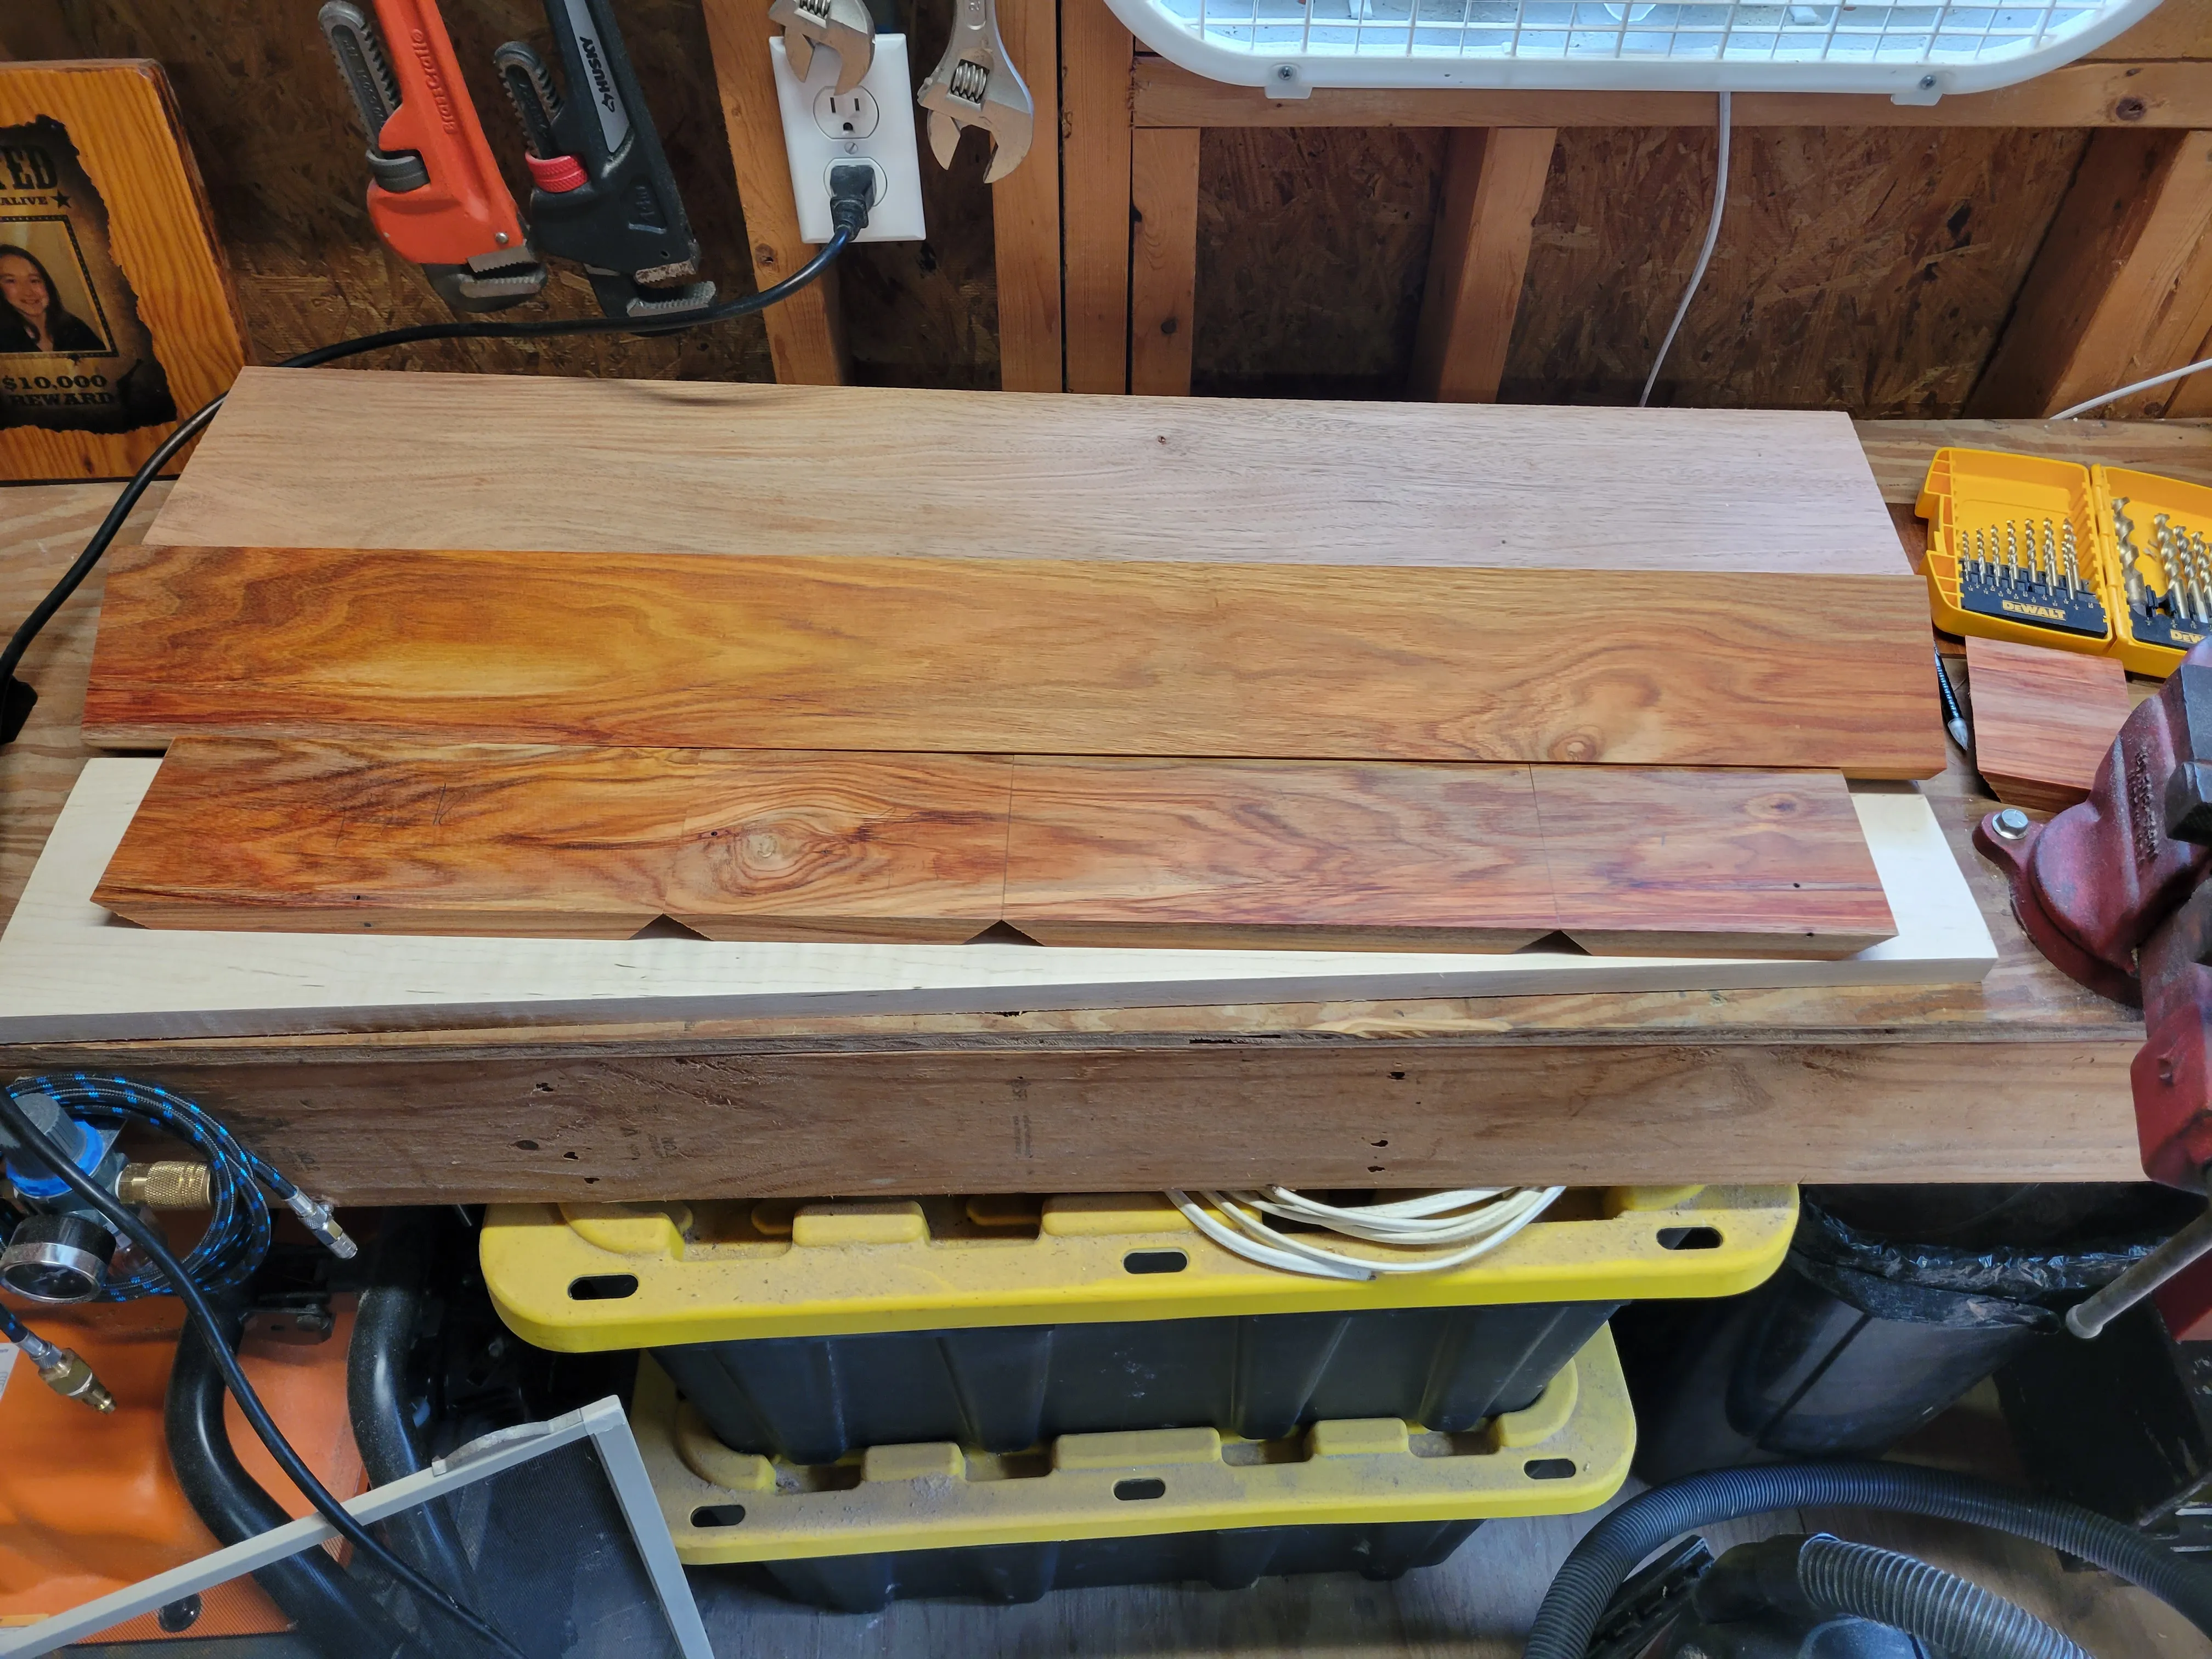
I picked canarywood for this one because it’s a genuine hardwood — hard enough to feel like I was working with something real — but still cooperative on a table saw, unlike some of the harder exotics that fight you the whole way. The whole project stayed router-less on purpose: miters, dados, everything ran through a dado stack on the table saw instead. The goal wasn’t really “build a perfect box.” It was “get my tools and my hands dialed in on something with actual joinery and hardware,” and simple mitered corners were the cheapest way to start finding out what my table saw could and couldn’t do accurately. The miters came out close, not dead-tight — good enough to move forward on, and a real baseline to compare later work against.
Splines would’ve been smarter. I used dowels instead.
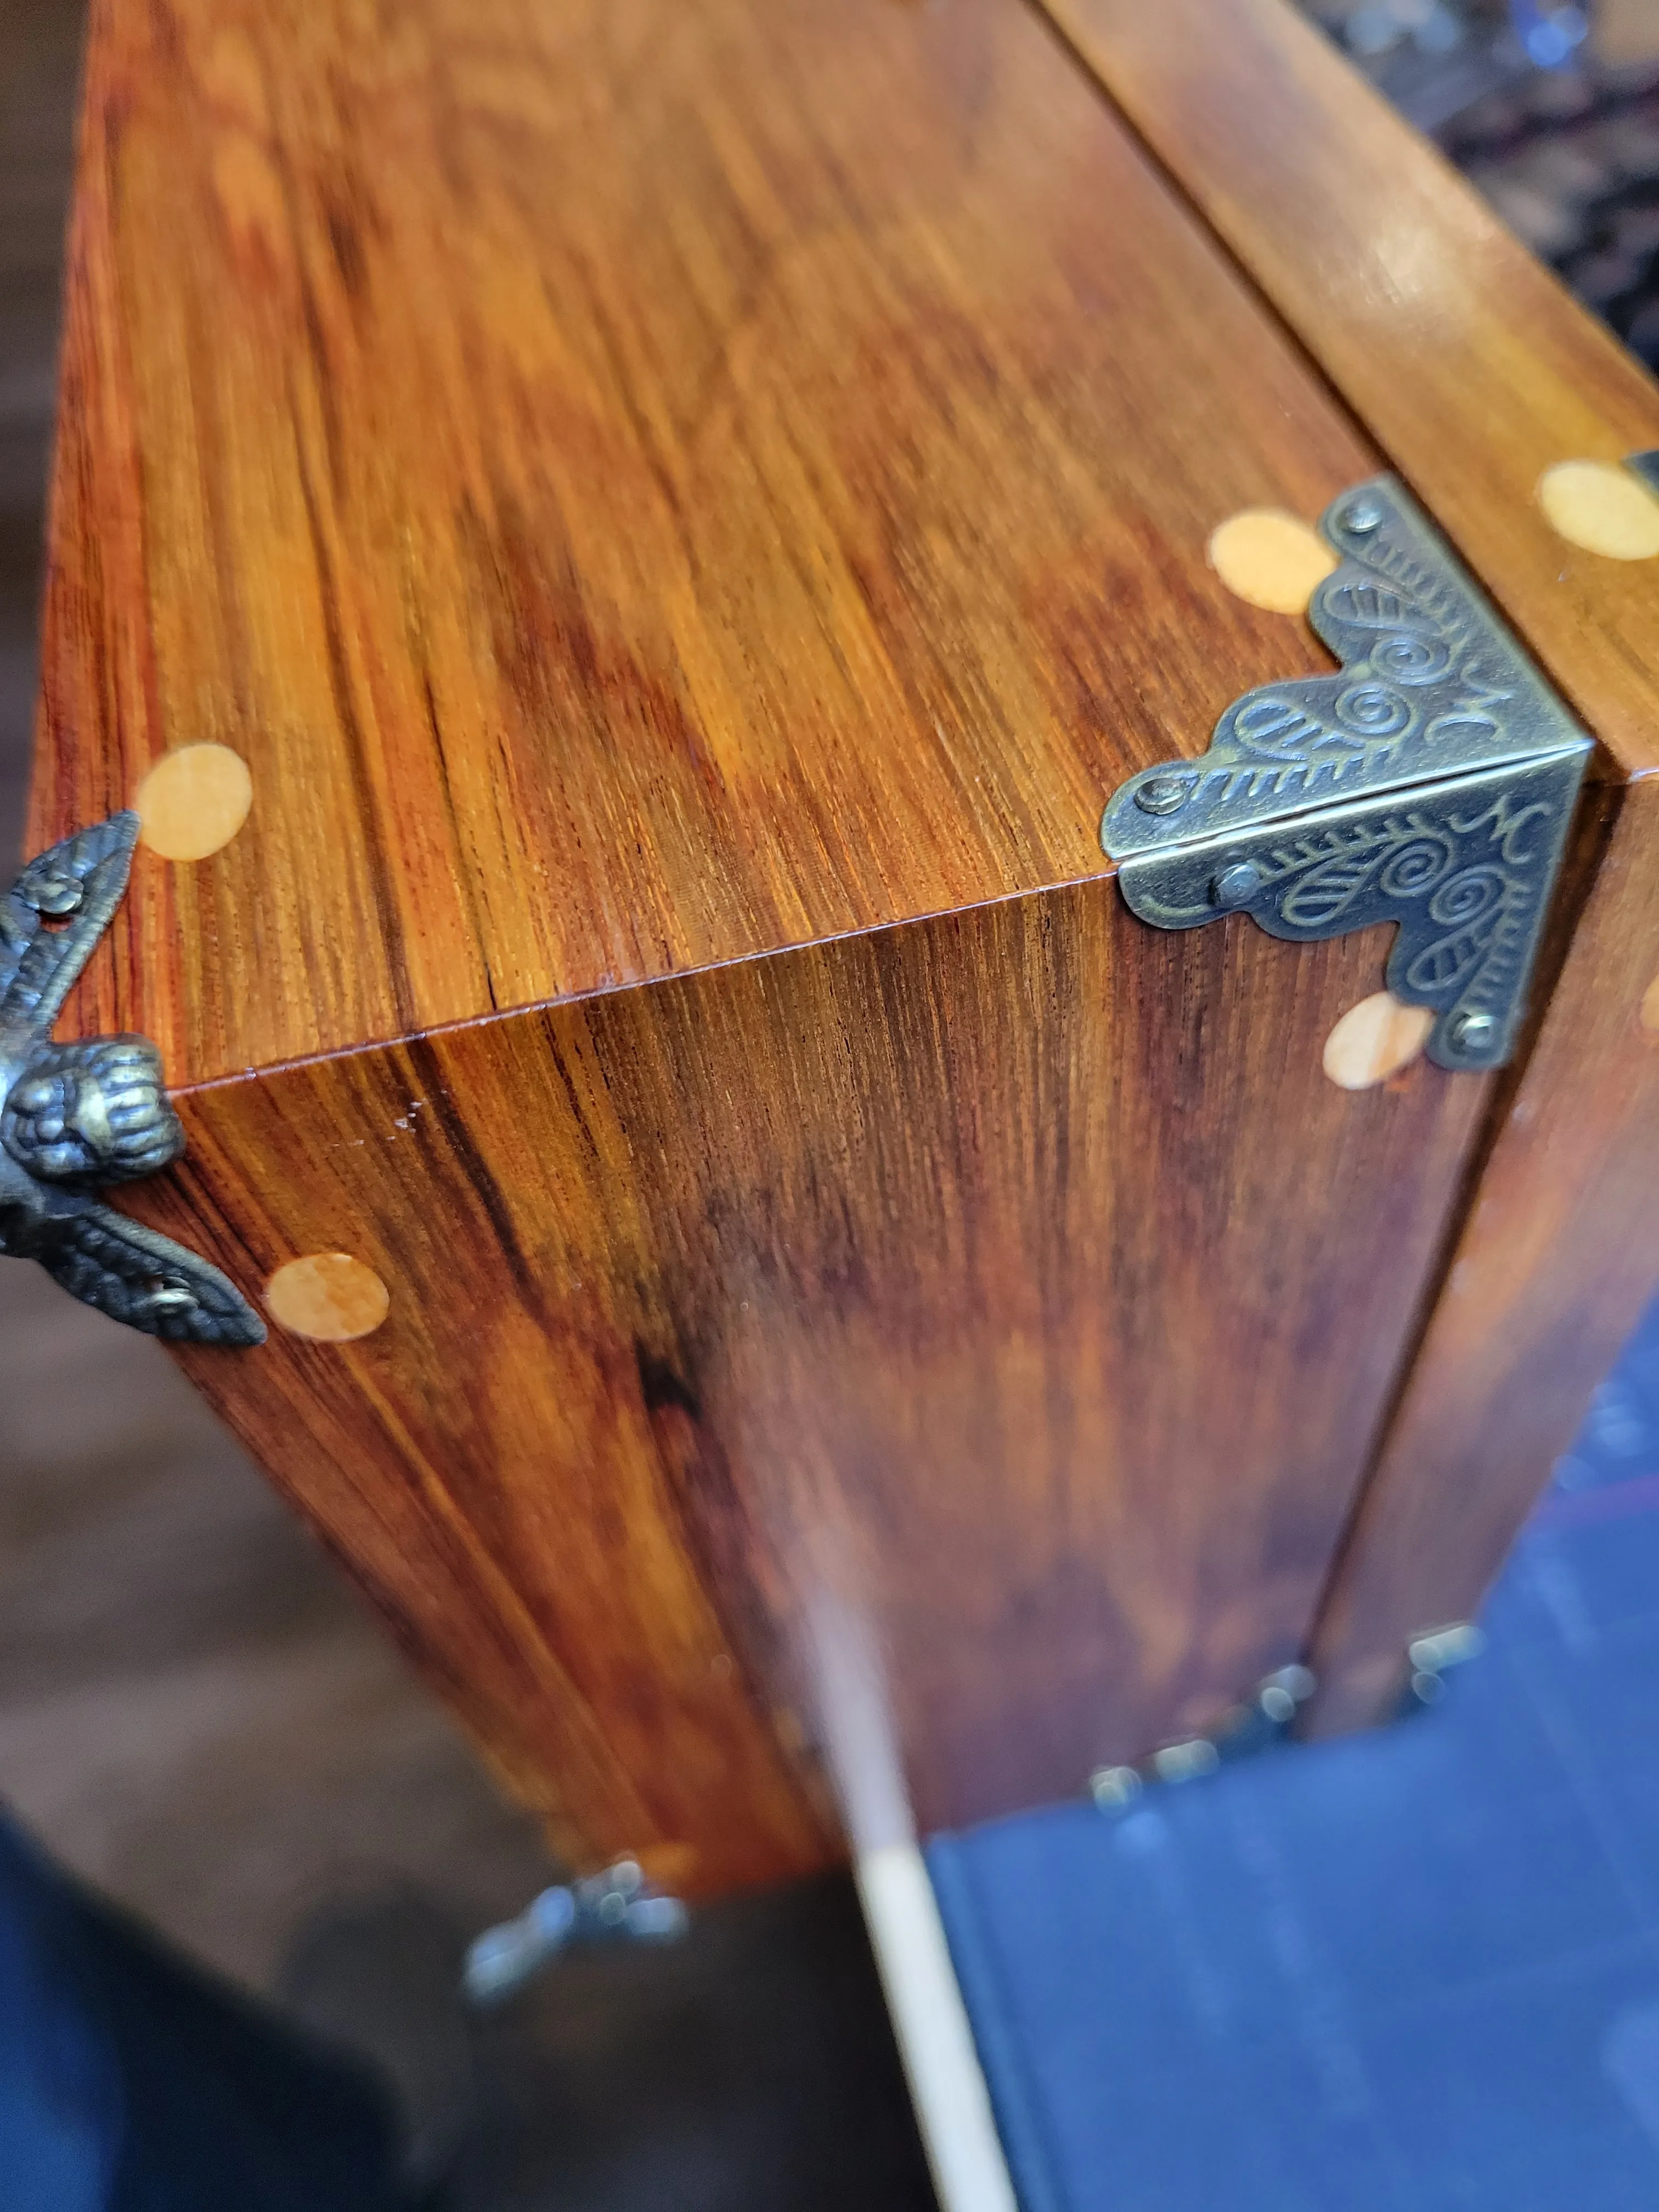
Simple miters aren’t strong on their own — they needed reinforcement. The “correct” answer is a splined corner, but that means building a jig, and I didn’t want to spend the time on tooling before I’d even proven I could build the box. So I drilled through the corners and ran dowels through instead. Cheaper, faster, no jig required.
It also went a little wrong. Drilling through a mitered corner is less forgiving than it sounds, and I got blowout on a couple of the dowel holes — the wood tore out around the exit instead of leaving a clean hole. The contrast I was hoping for between the dowel and the surrounding wood didn’t come out looking the way I’d pictured it either. Lesson learned, and left visible in the photos instead of quietly cropped out.
A dado that pinches the lining instead of just gluing it
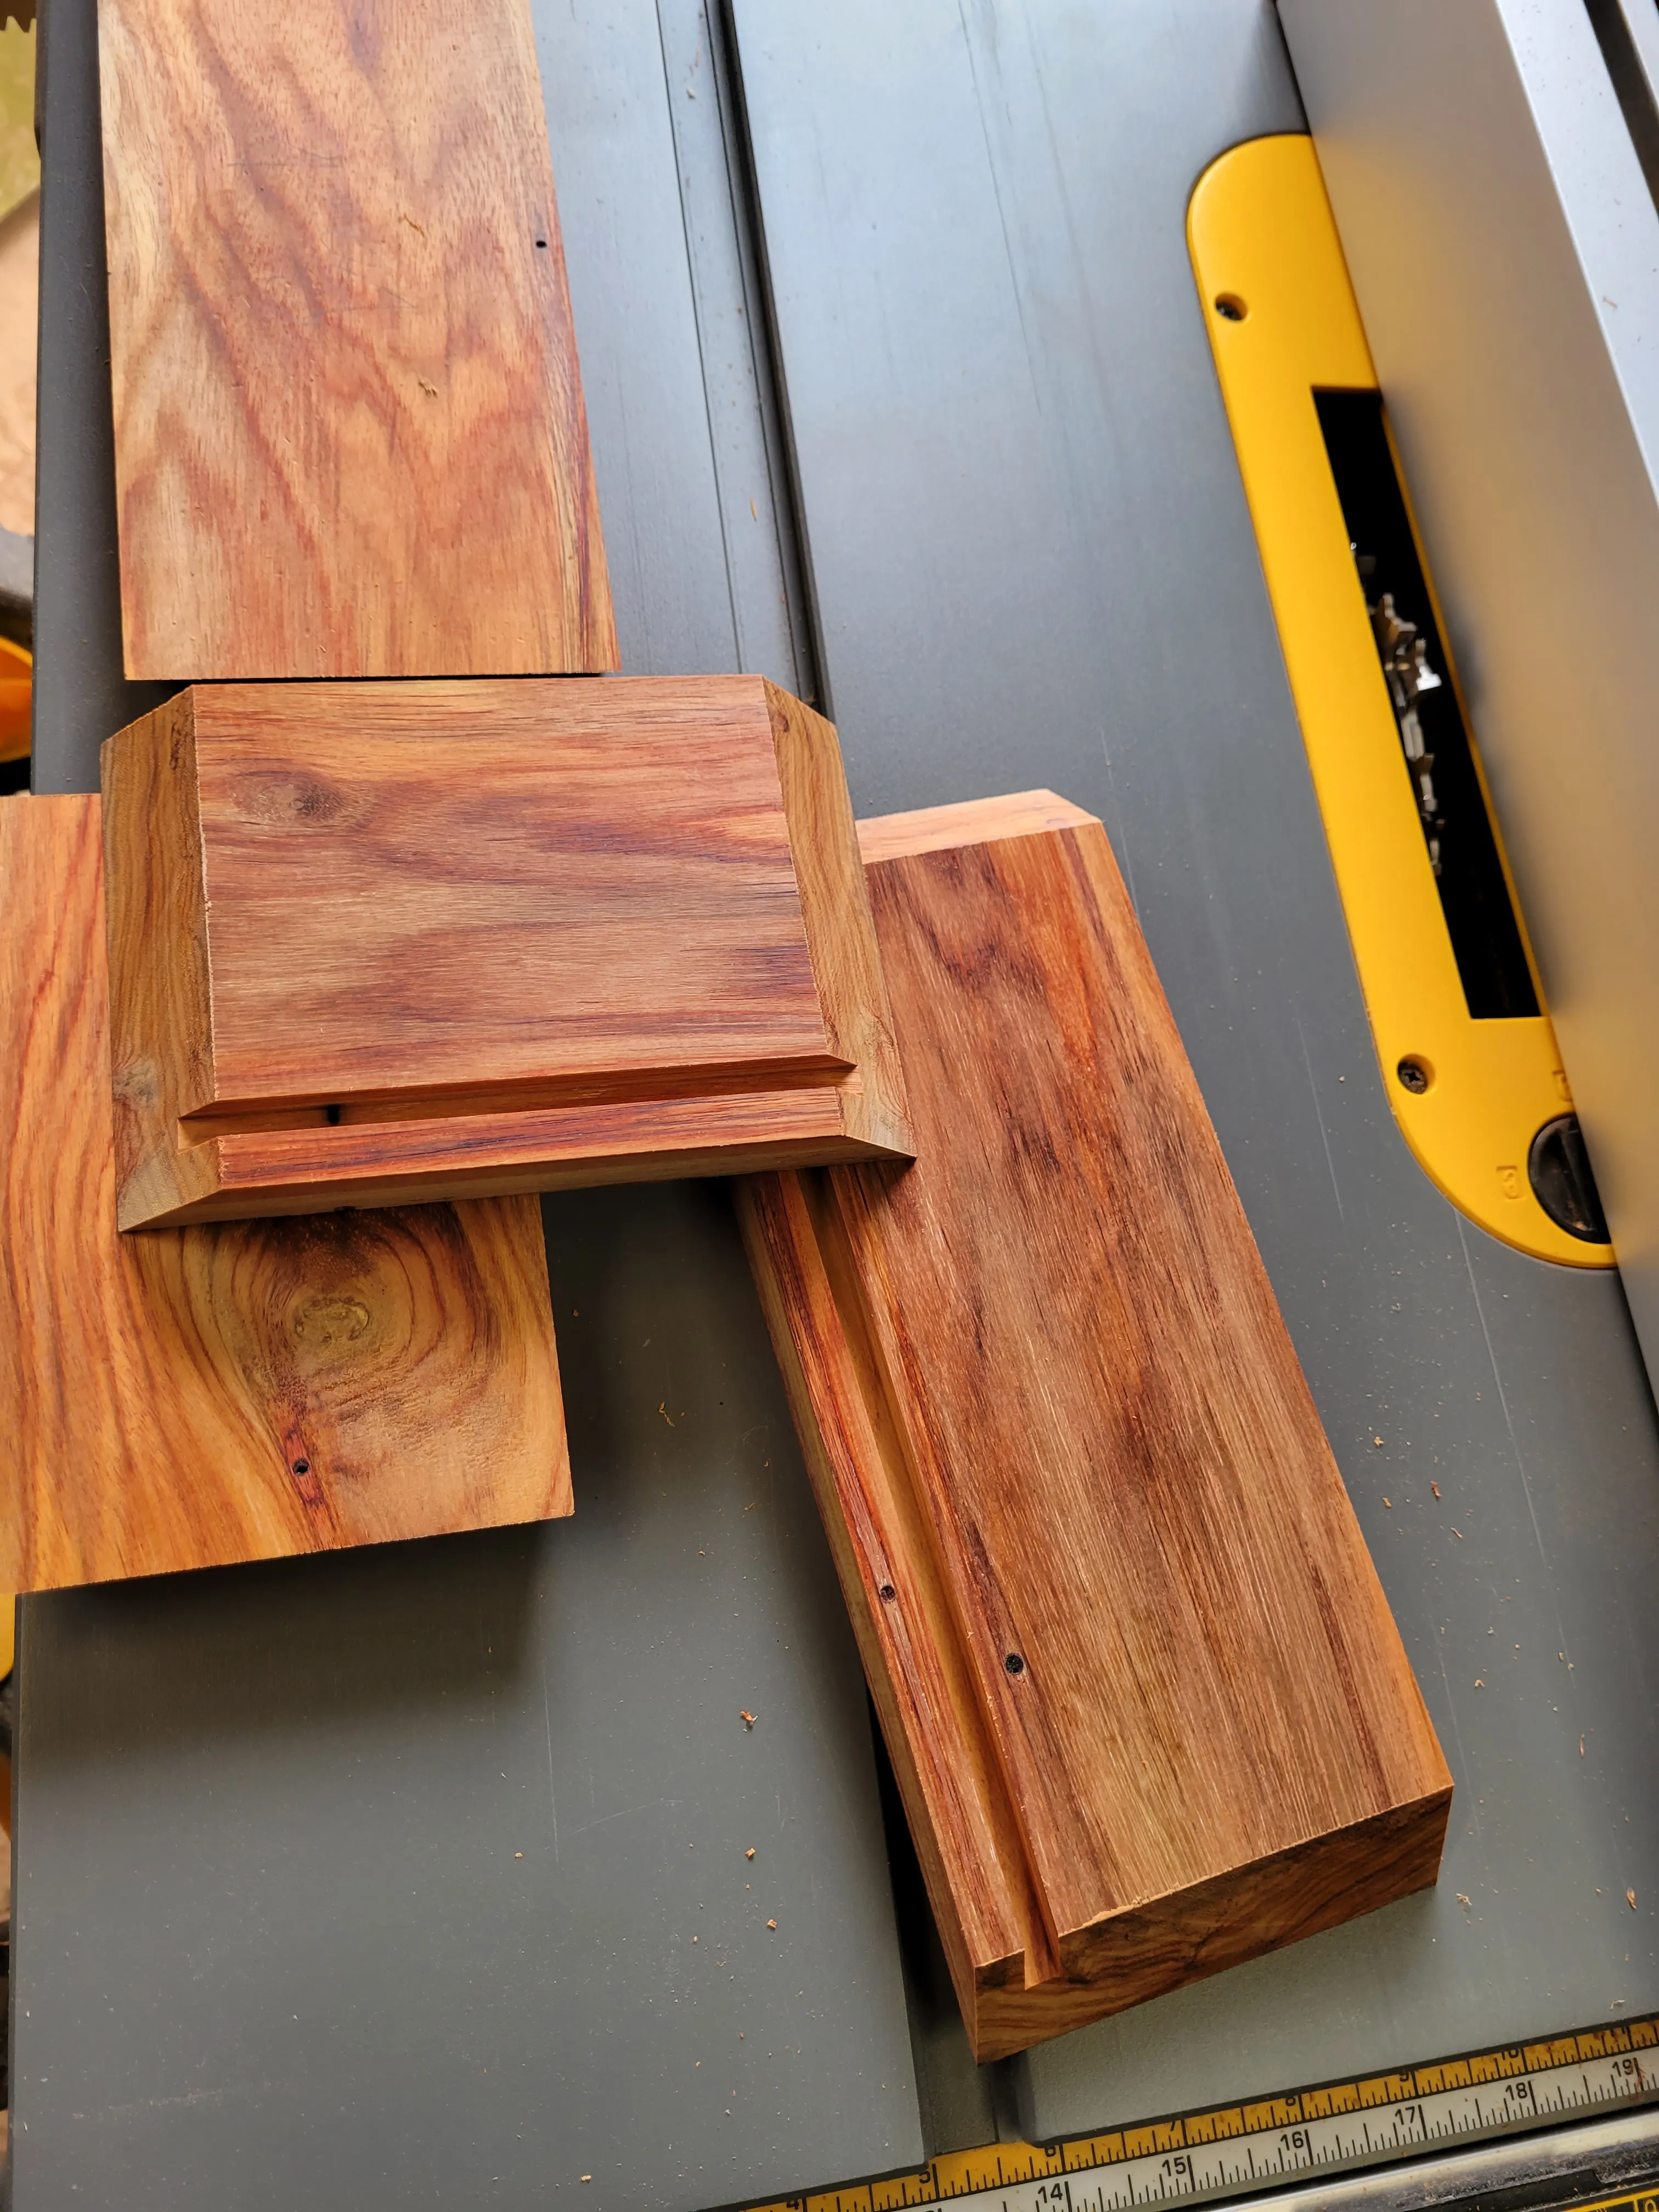
For the bottom, I could’ve just glued red velvet cloth flat against a plywood panel and called it done. Instead I cut the bottom dado oversized on purpose, then wrapped the velvet around the edge of the panel so the groove physically pinches the fabric in place when the panel seats into the walls — glue as a backup, not the only thing holding it down. I used Mod Podge to tack the velvet to the plywood underneath; in hindsight, a contact adhesive like Super 77 would’ve grabbed faster and probably saved some fussing.
Cutting the lid off a box that’s already glued shut
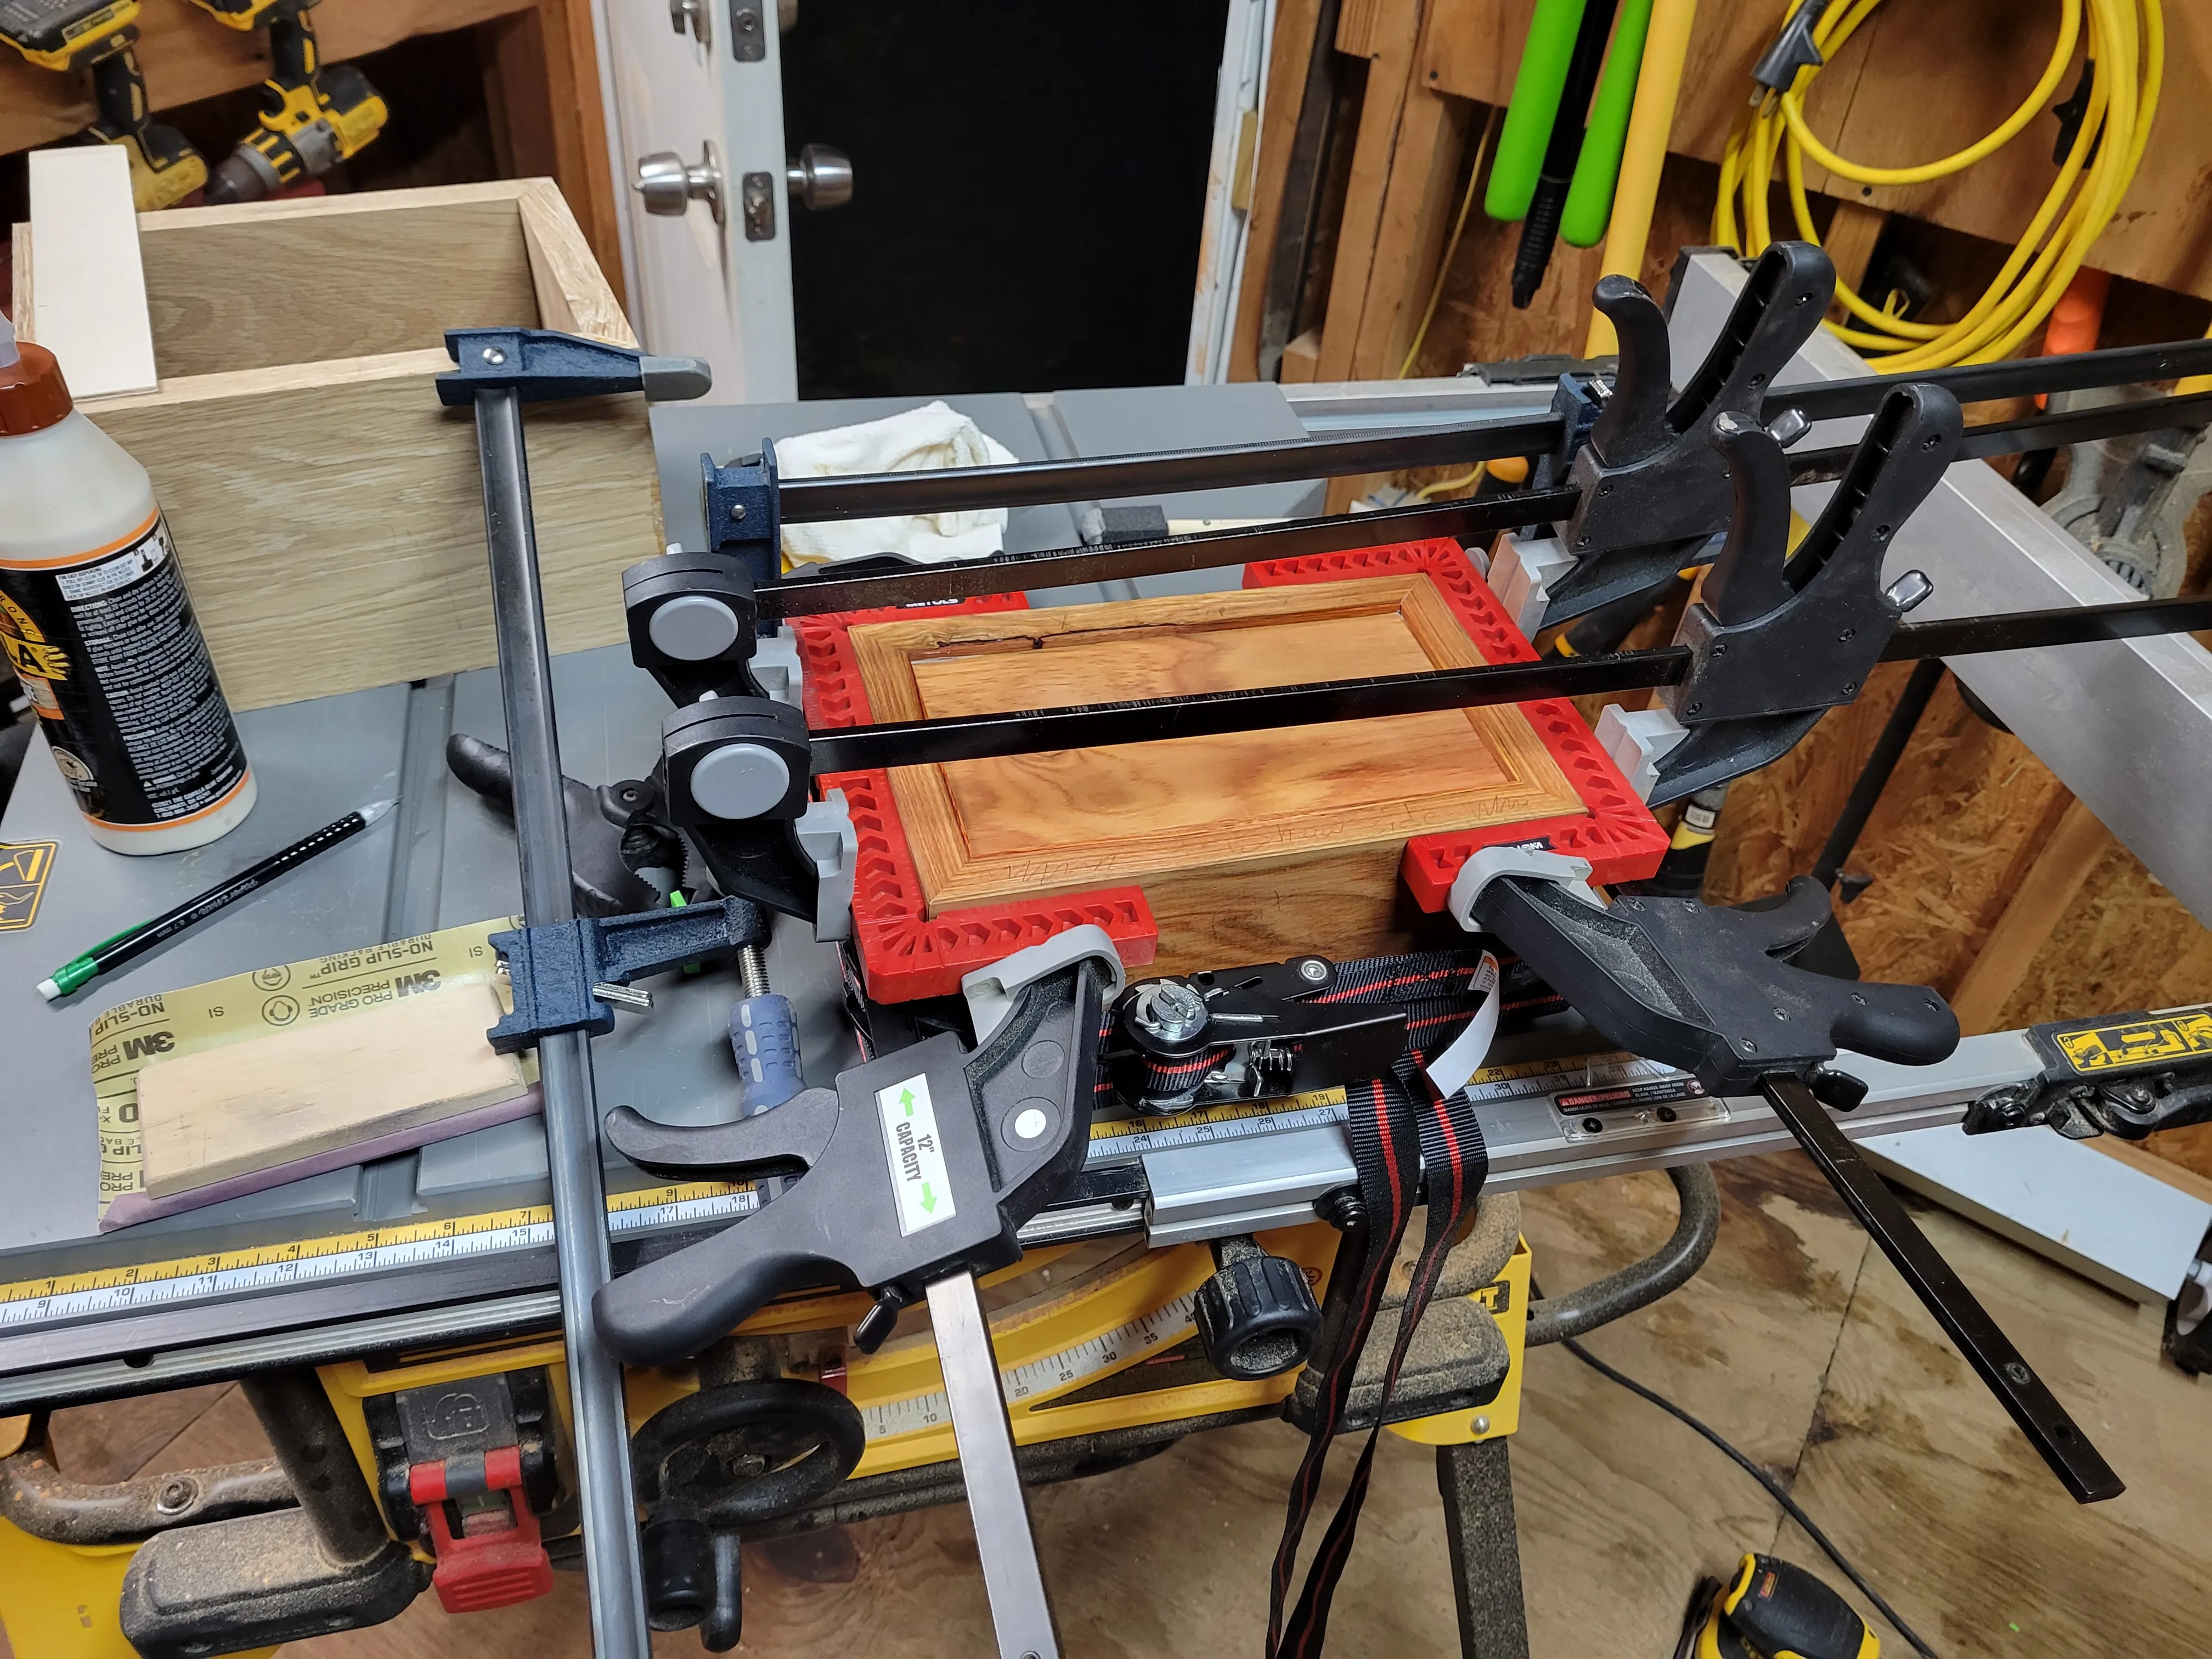
The lid is thin stock, and no single board I had was wide enough, so it’s actually two pieces glued edge to edge to get full width. For fitting it to the box, I took the lazy route on purpose: instead of building the lid and the base as separate pieces and fighting to get them to align, I glued the entire box shut — lid included — as one sealed unit, let it cure, and then sliced the lid free afterward on the table saw. Zero alignment problems, because there was nothing to align. It just had to line up with itself.
Hardware and finish
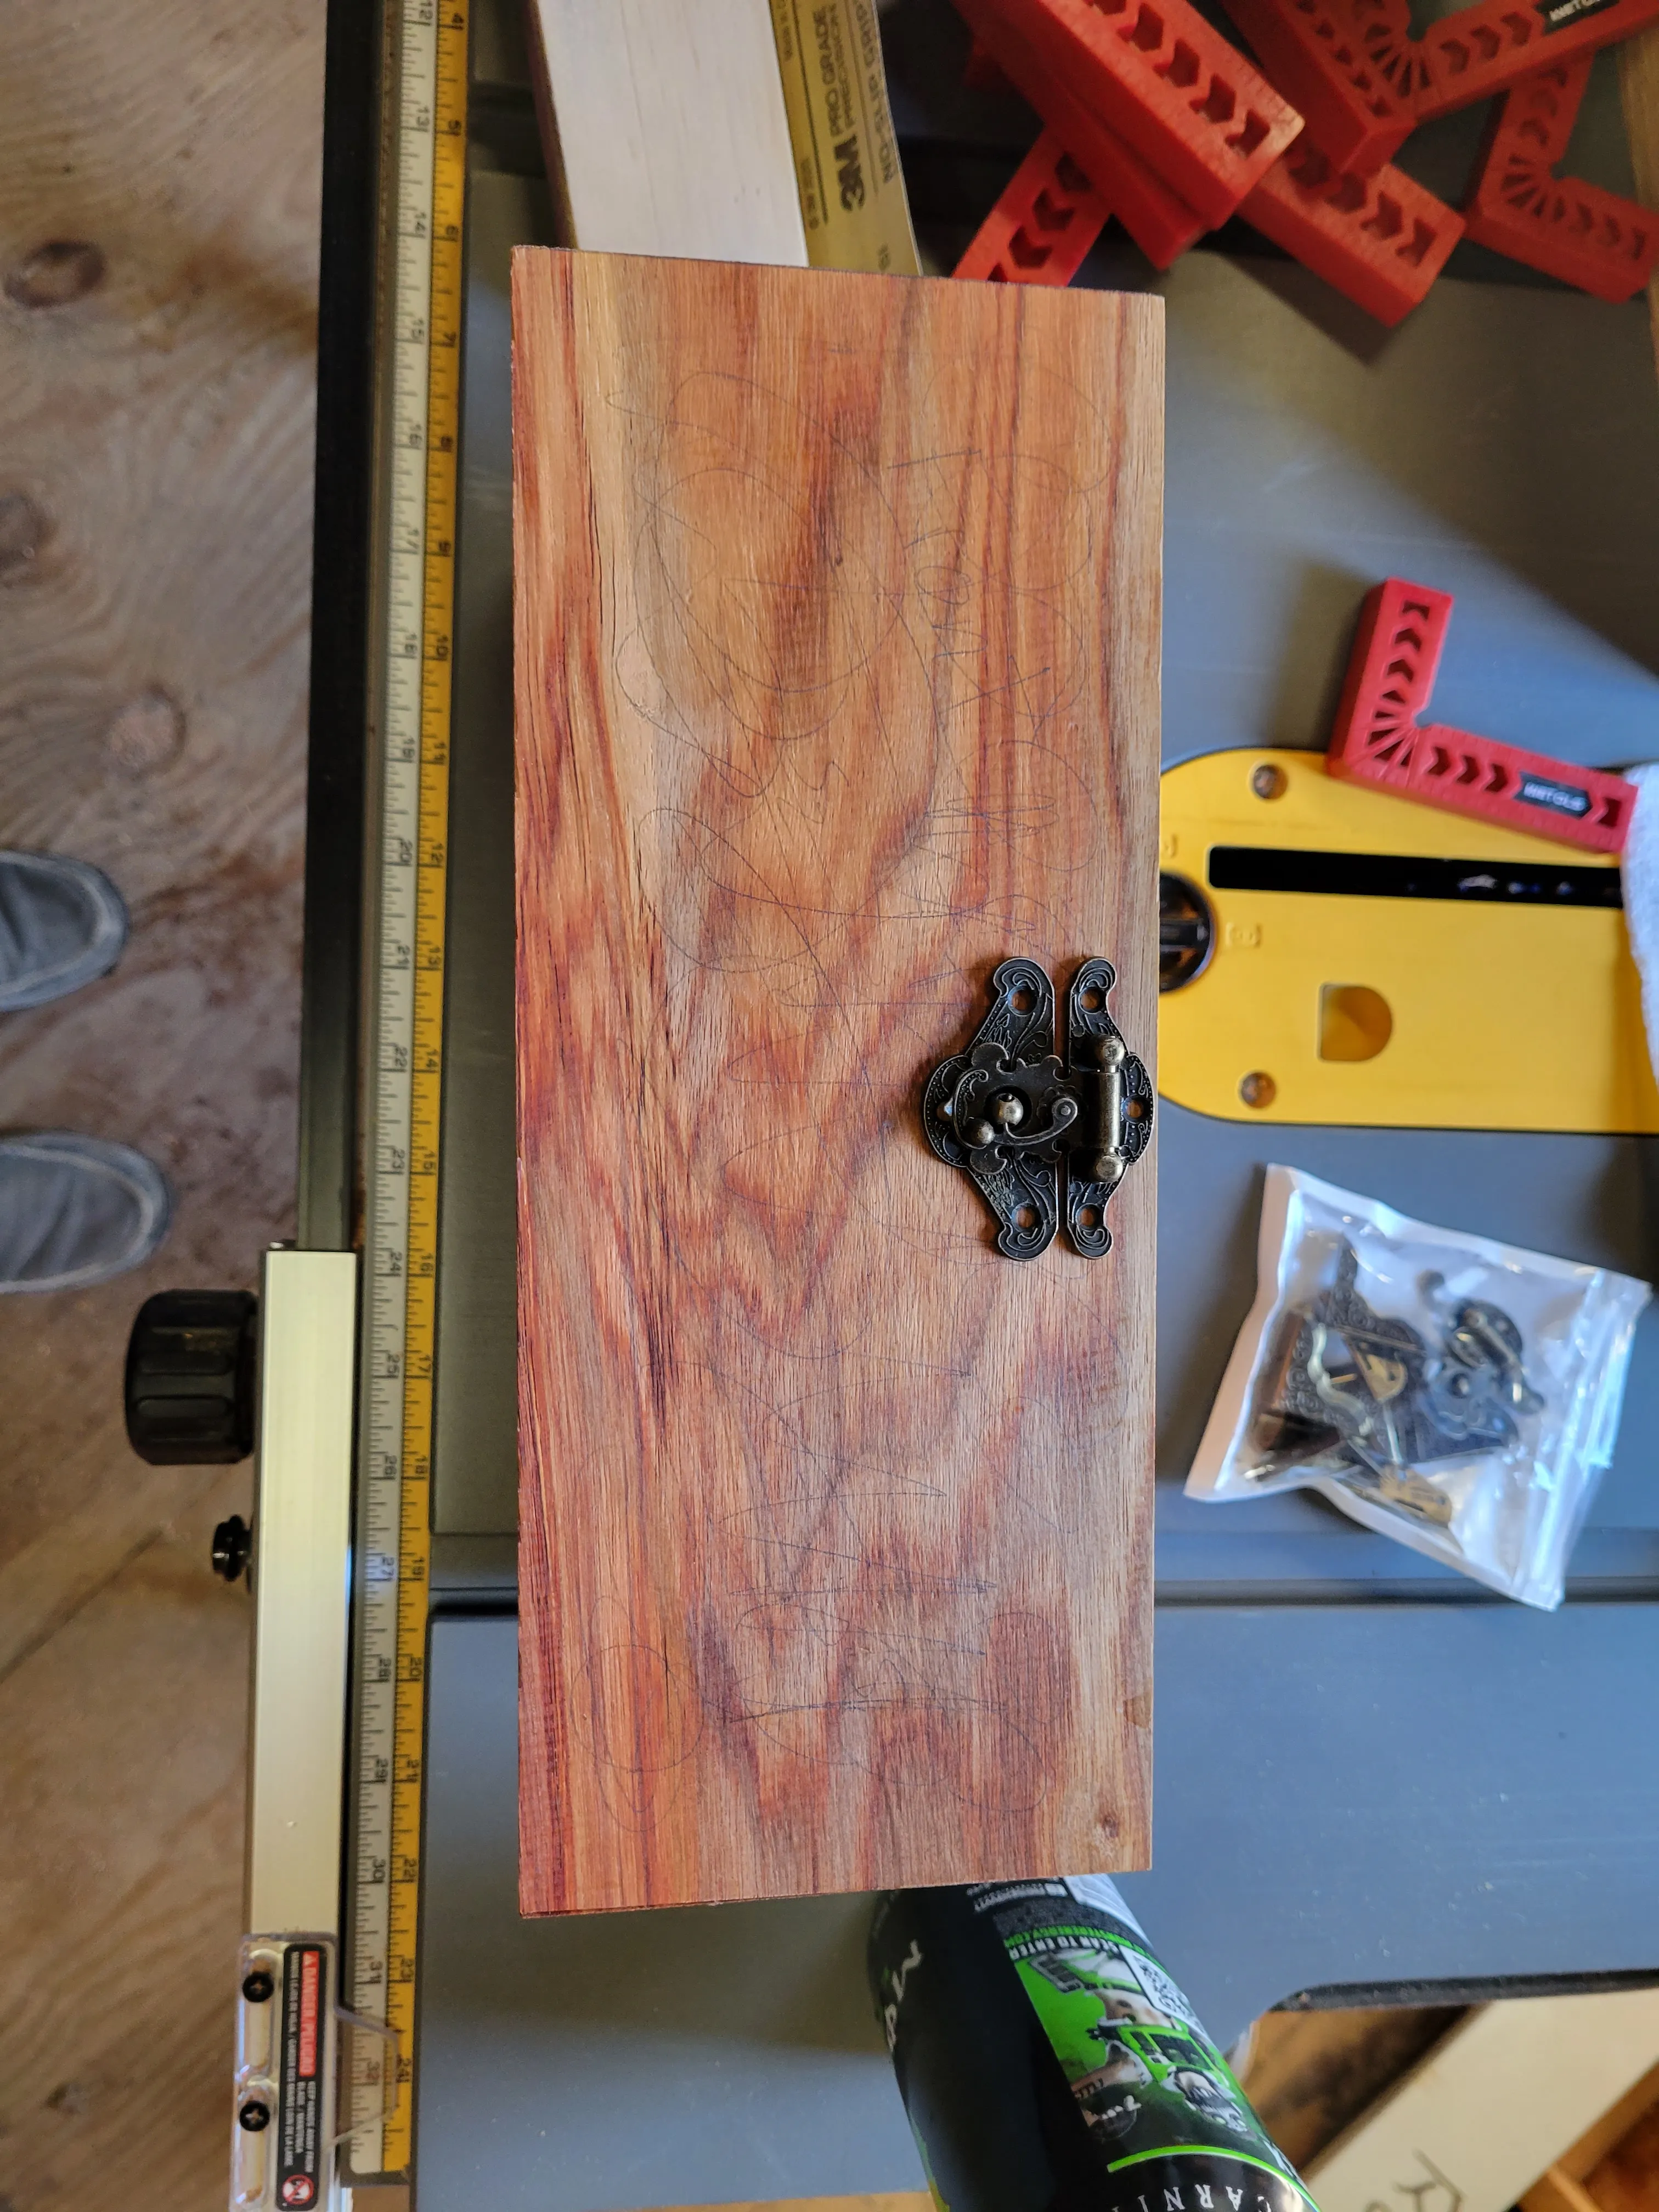
Once the box was built, the brass corner brackets, ball-and-claw feet, swing clasp, and hinges went on — laid out and re-laid-out a few times before anything got screwed down for real. Finished it all in gloss polyurethane. Poly is genuinely a pain to work with on something this small — it’s fussy, it’s slow, and it shows every flaw in the surface prep — and oil would’ve been far less of a headache for a project this size. But I like the shine it gives more than I dislike applying it.
What’s still visible
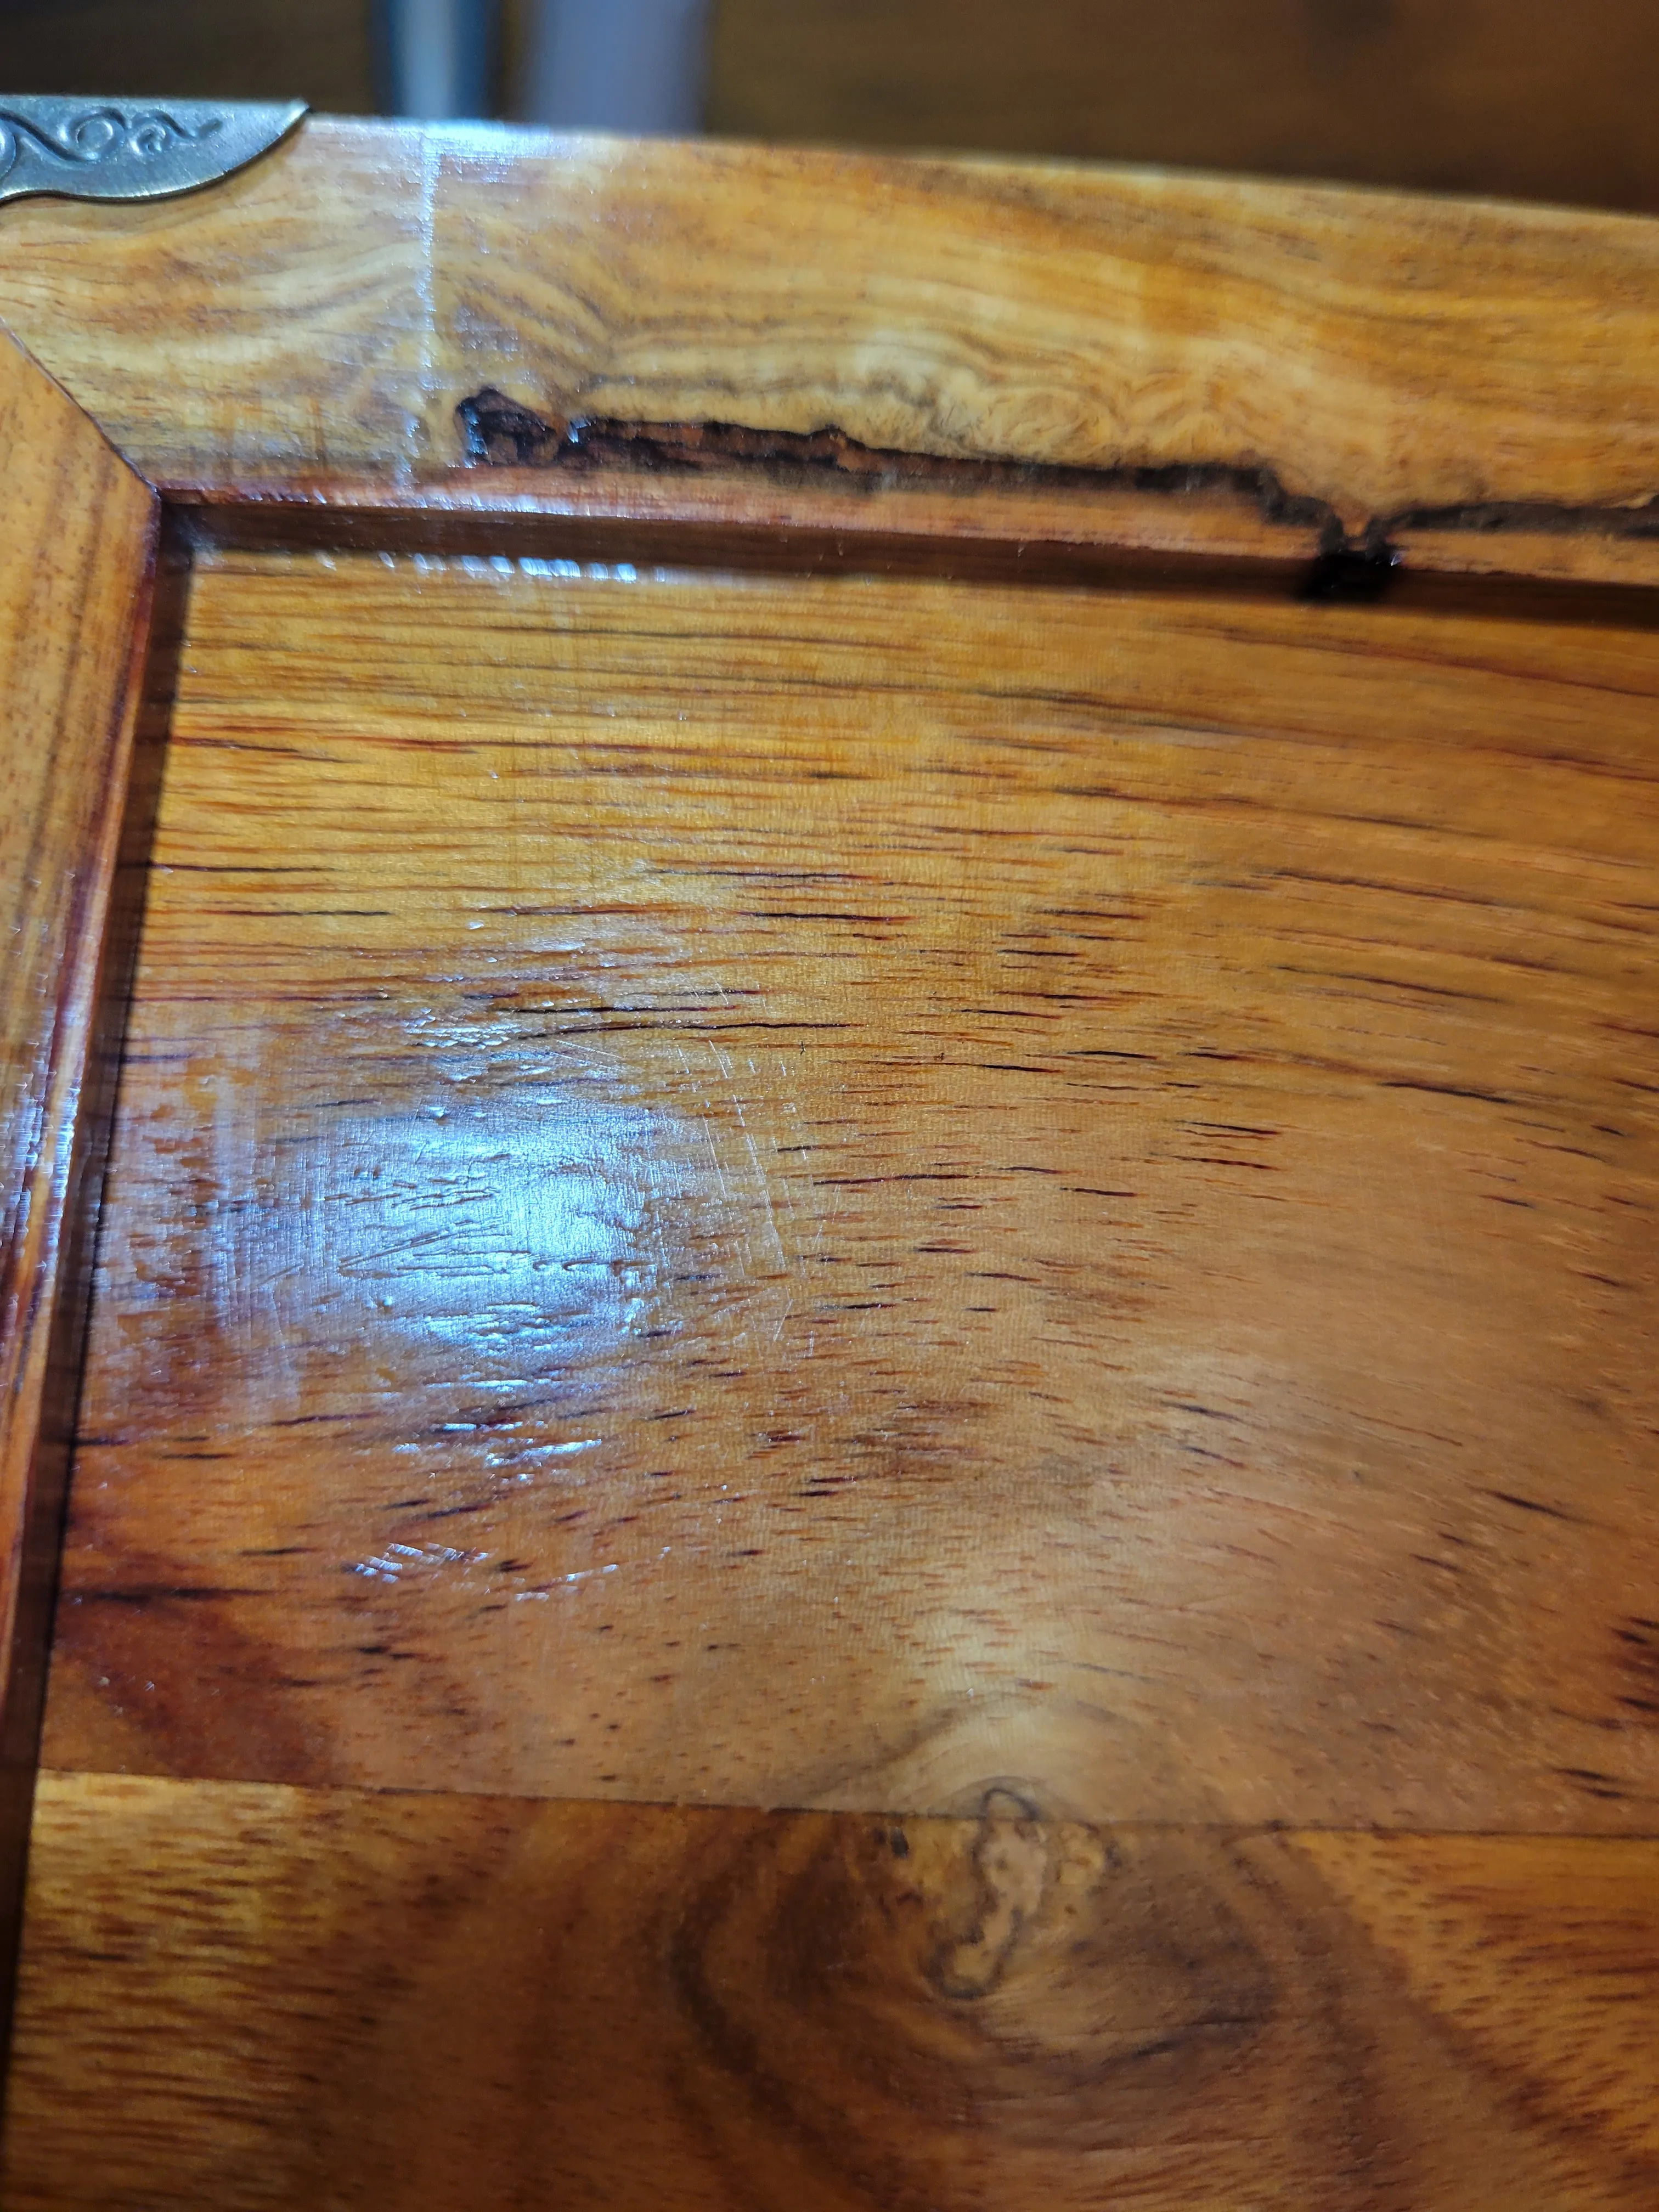
A few scratches made it into the finish and stayed there — along with the dowel blowout and the not-quite-tight miters. None of it ruins the box. All of it is exactly what a first attempt at fine woodworking should look like up close, which is the reason none of it got cropped out of the photos.