Mahogany Jewelry Box
Mahogany and a waterfall miter
I started with mahogany because it’s a nice dark wood that finishes well, milled down to 13/16“ S4S stock. The walls use a waterfall miter cut — mitered corners cut so the grain wraps continuously around the box instead of breaking at each seam.
When the miters don’t line up, rout a groove and call it design
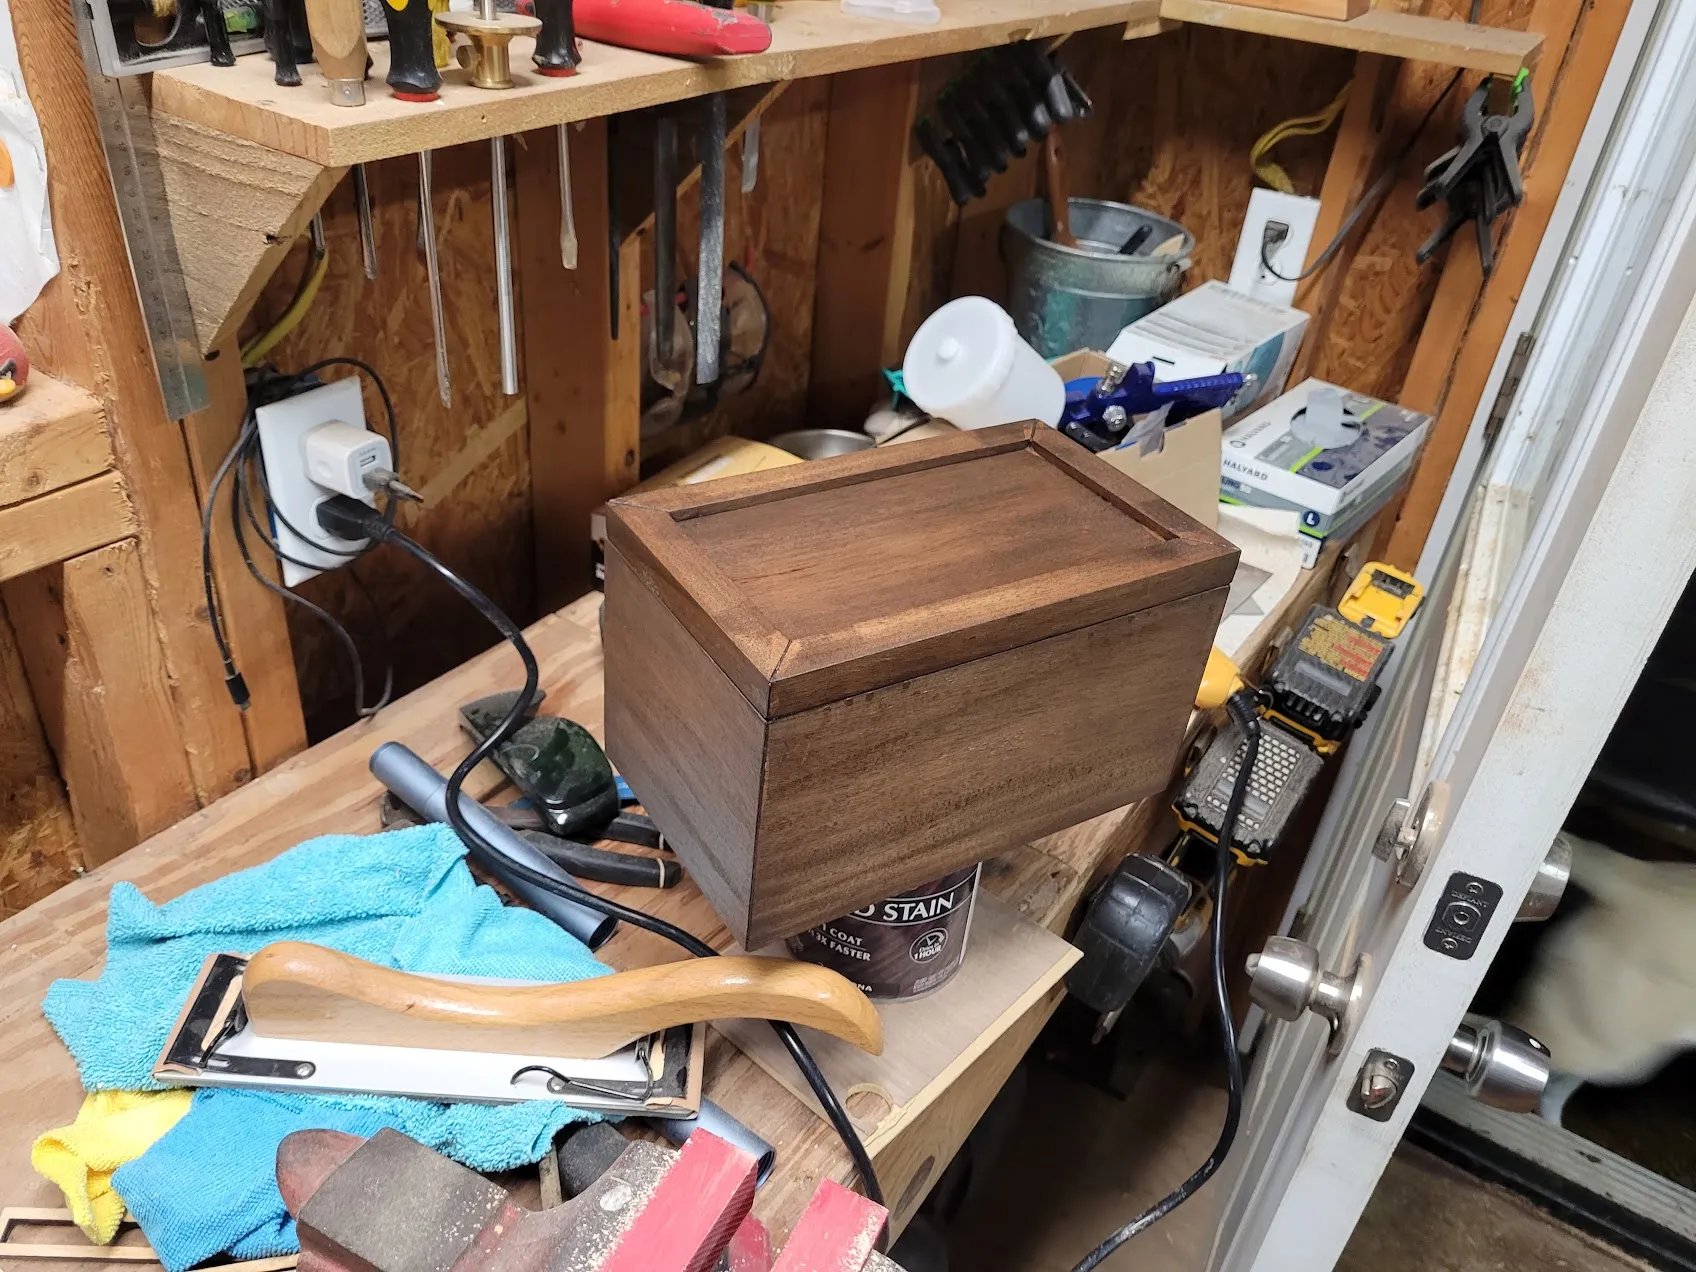
The miter cuts didn’t line up perfectly. Rather than fight to hide it, I leaned into it: I cut a small groove along the miter edge on the top, turning what would have been an obvious seam mismatch into something that reads as an intentional visual line instead. It’s a trick that only works if you commit to it fully, not half-hide it.
Drawer vs. tray
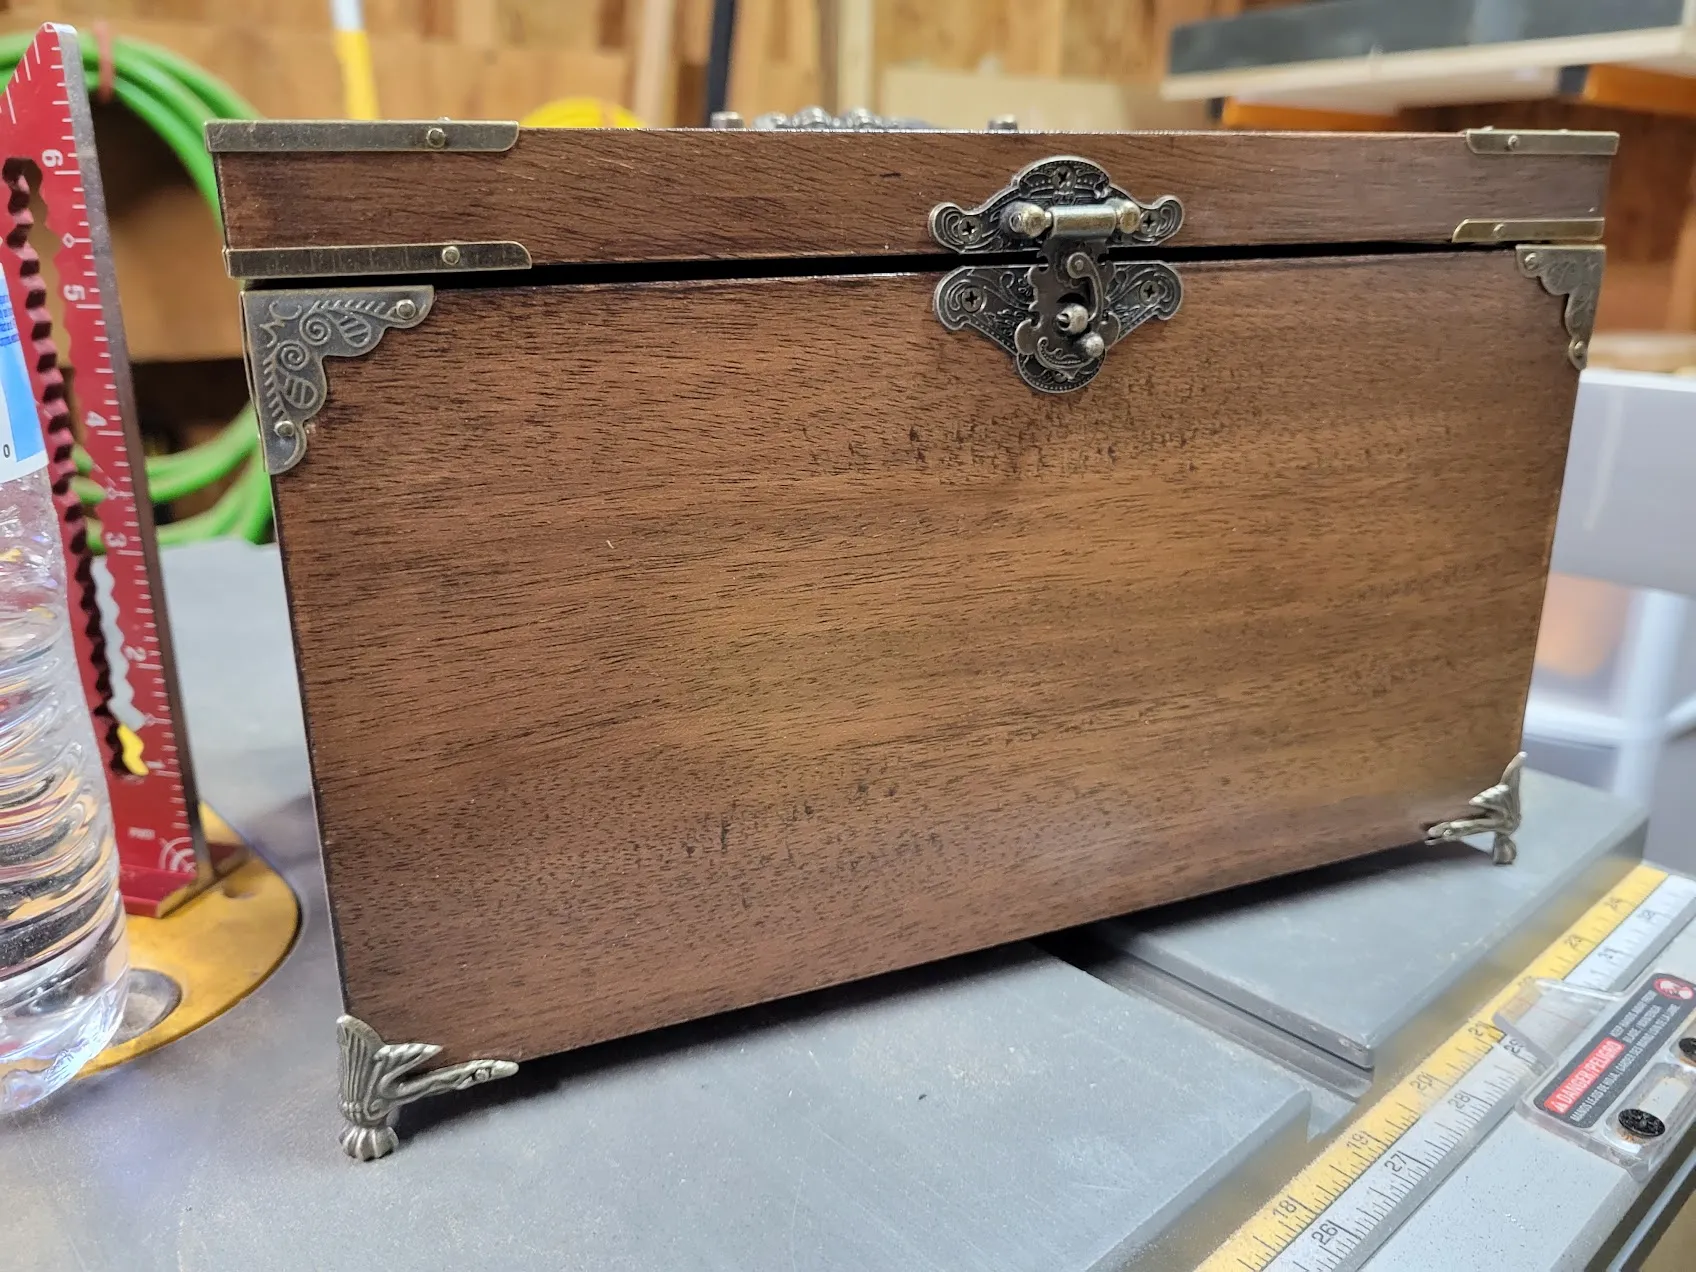
I considered building a pull-out drawer instead of a simple lift-out tray. Two things killed it: the antique brass hardware I wanted on the front would have eaten into the corner space a drawer needed to clear, and I was worried a visible drawer face would break up the solid, one-piece look I was going for. A drop-in tray solved both problems at once.
A cedar bracket, mostly for the smell
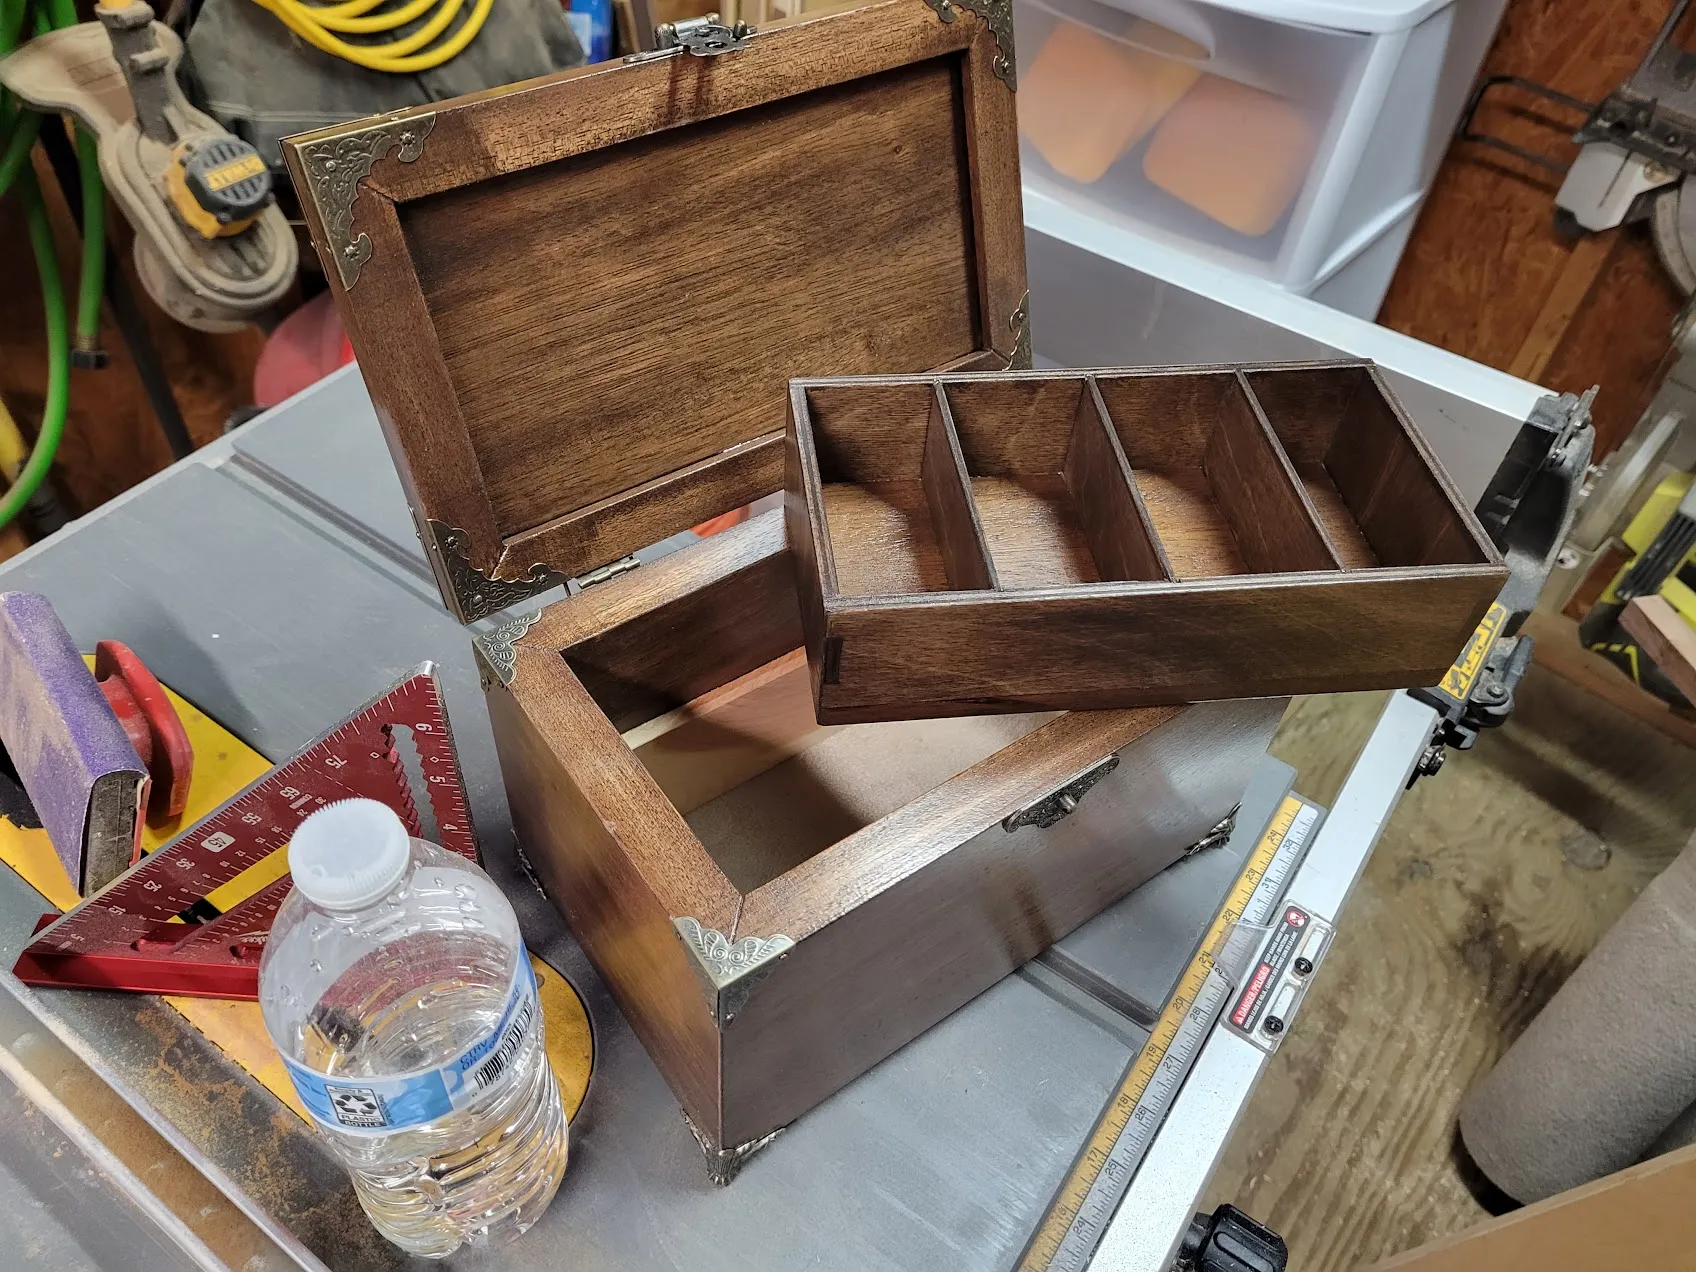
The internal bracket that holds the tray at the right height is unfinished cedar, chosen for two reasons: it gives the box a little fresh smell every time it’s opened, and the lighter color makes a smoother visual transition between the dark mahogany walls and the beige fabric lining below.
Building the tray
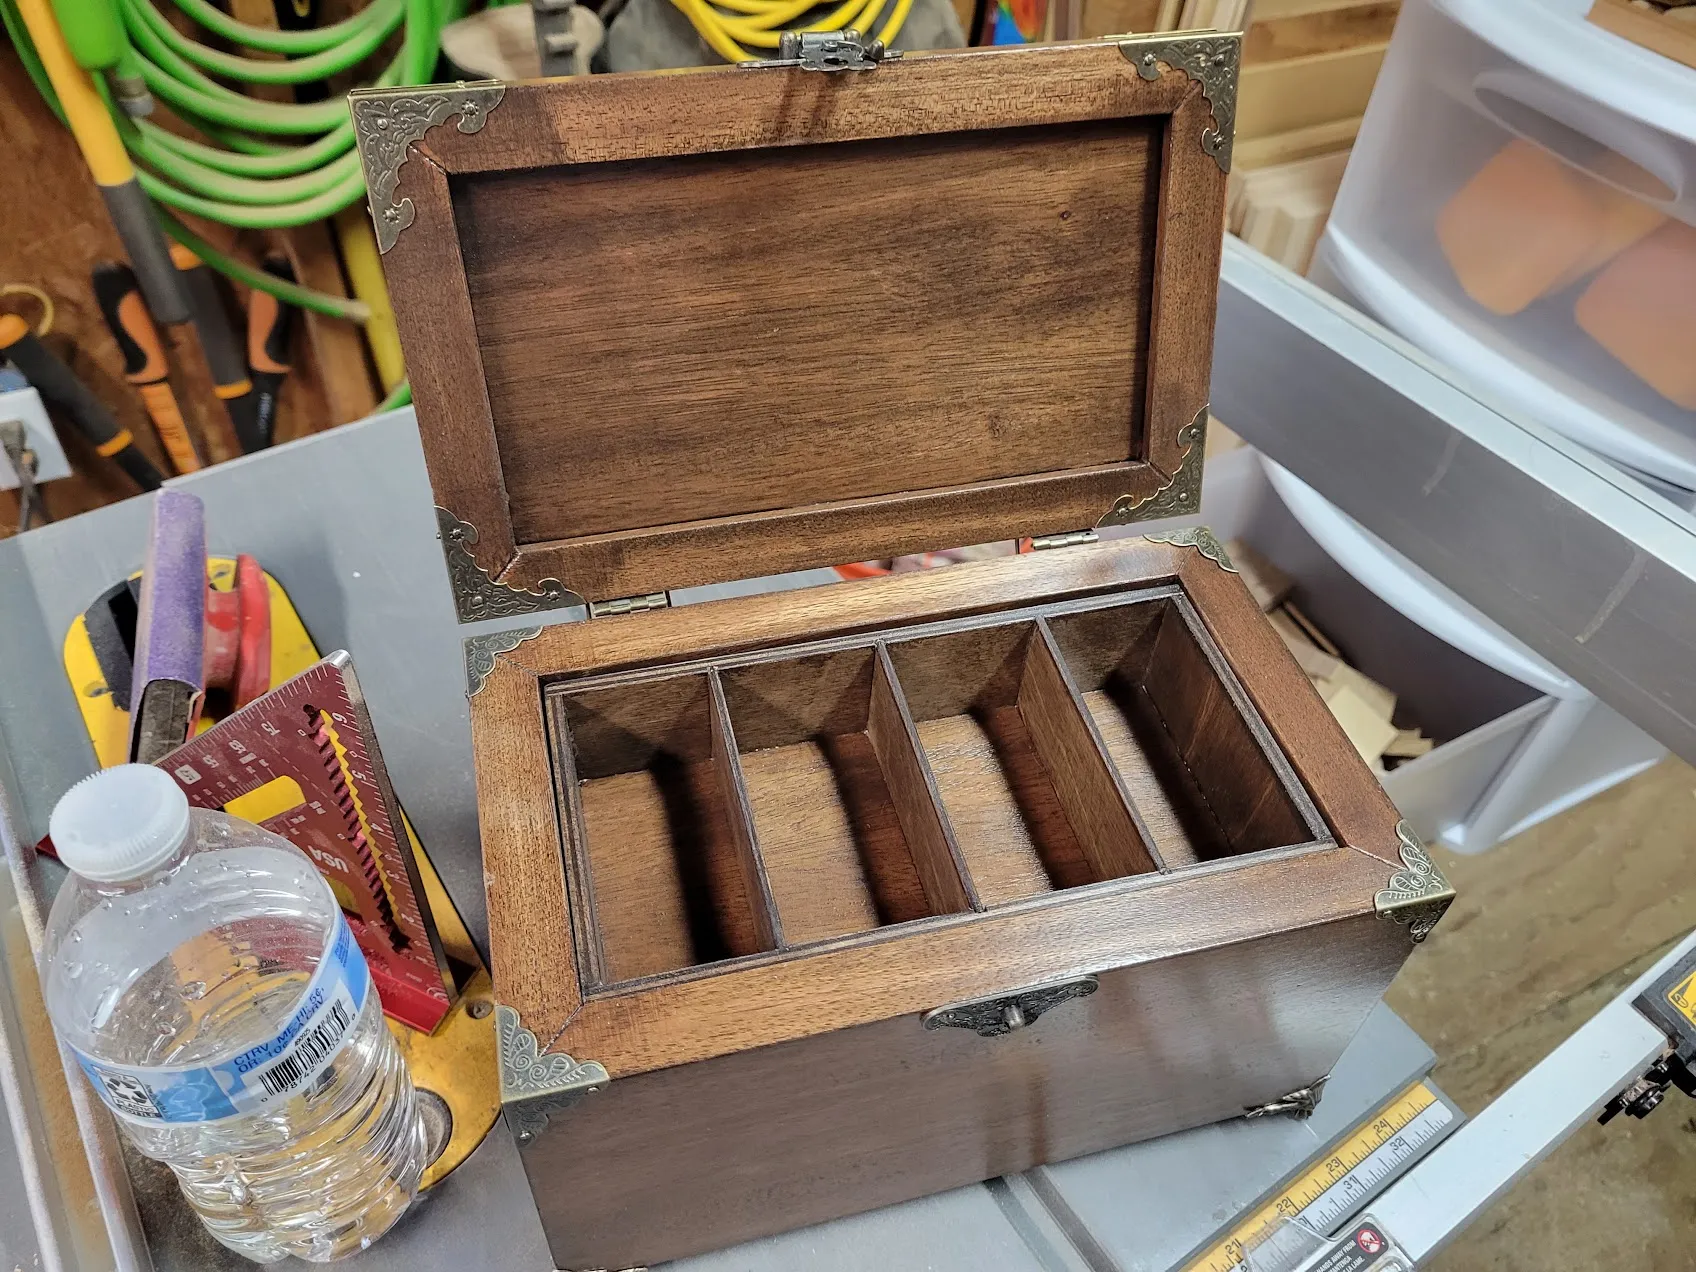
The tray itself is 1/4“ Baltic birch, with box-joint fingers locking the corners together — strong enough to hold its shape while keeping the walls thin, somewhere between 1/8“ and 1/4“. Stained afterward to roughly match the mahogany base so it doesn’t look like a mismatched insert.
Bottom, top, and finish
The bottom is another piece of 1/4“ Baltic birch, set into a dado groove for strength, then covered with a beige velvet-like fabric. The top is a standard thin mahogany panel floating in its own dado groove. I finished the whole thing in a natural stain and polyurethane. Looking back, I probably should have used an oil finish — teak oil or similar — since poly is more of a hassle to get right. I wanted the extra durability at the time, and I still think that was the right call for something meant to get handled regularly.
Where it landed
Less technically demanding than some of my other builds, but a lot of the actual time and focus here went into finish and color-matching instead of joinery. For something meant to just sit on a counter and look good, that felt like the right place to spend the effort.